eBay is one of the largest and most competitive online marketplaces for all kinds of products. When it comes to those sold by the unit, weight, length, volume etc eBay's size can become a problem. With thousands of listings returned for many common products it is impossible to find the one that is the best value.
eBay features a cost per unit measure on some listings but we have found it to be wrong a lot. Many listings are what eBay calls 'mult variant', meaning that the single listing contains variations of the product and one of these is often the quantity being sold. Each variation of quantity will have a different cost per unit and there is no way to find out what that is on eBay unless you click on every listing and check every variation on offer. Sorting by price therefore doesn't work either as there are often variations for sample sizes which may be cheap but their cost per unit is very high.
After becoming frustrated with the problem of being unable to sort on price per unit in eBay we decided to build a solution. We check eBay regularly for a range of popular products and our unique software assesses each listing. We extract the quantity on offer from all listings and their variations, calculate the cost per unit and display the listings on our site sorted by cost per unit.
Because of the errors some sellers make when listing their products for sale we can't interpret everything correctly but we make it much easier to find the best bargains on eBay at any given time. We are adding new products all the time and we earn a small commission for our effort should you go on to make a purchase.
If there's a product you'd like to see on our site please contact us on our Instagram account and we will look into it.
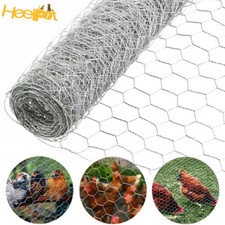
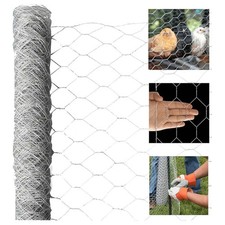
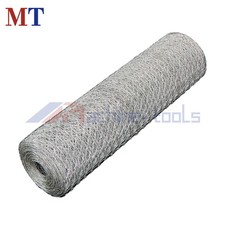
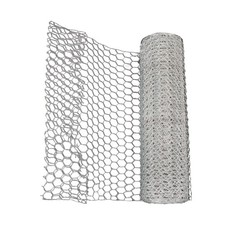
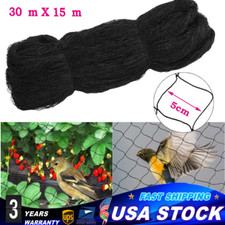
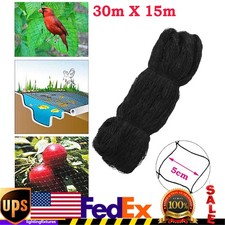
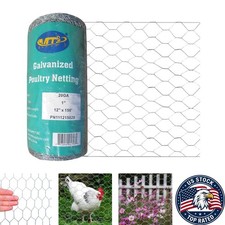
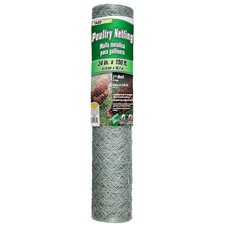
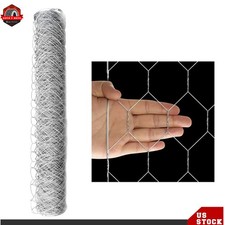
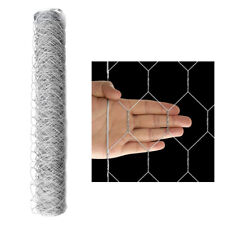
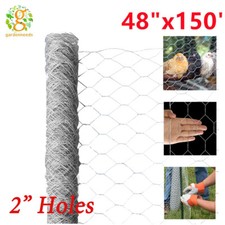
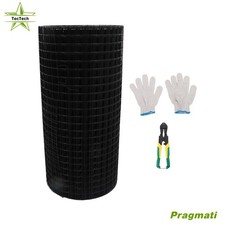
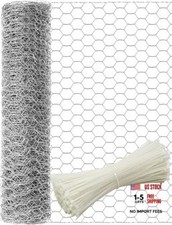
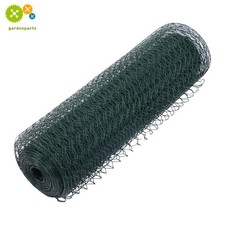
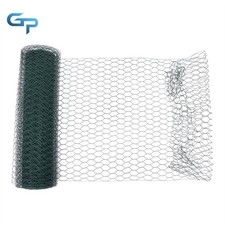
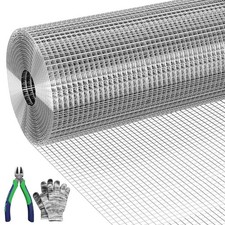
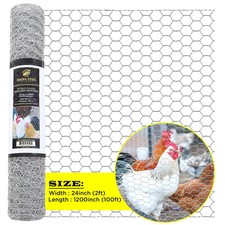
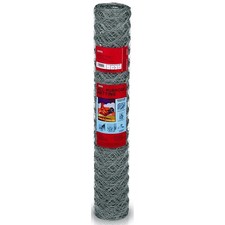
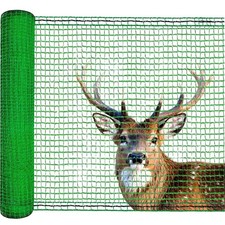
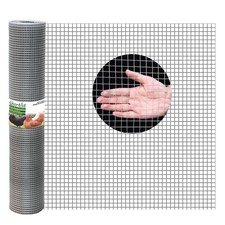
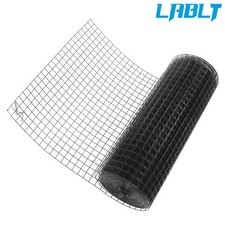
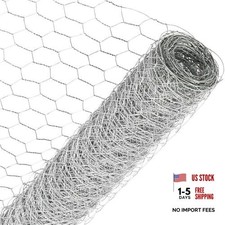
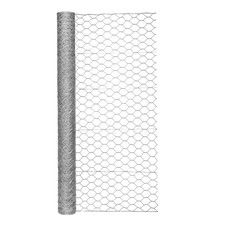
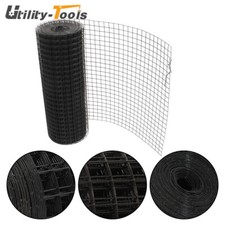
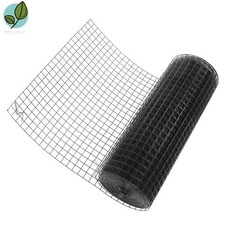
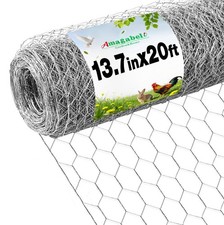
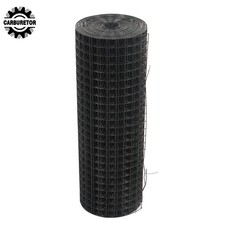
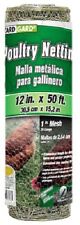
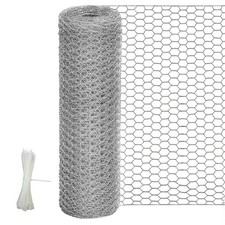
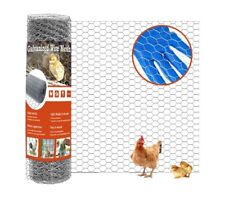
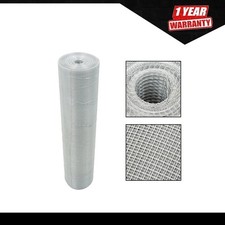
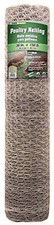
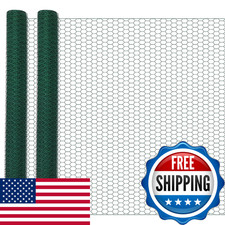
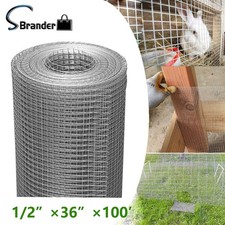
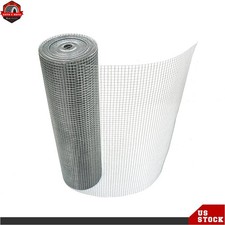
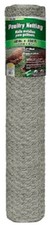
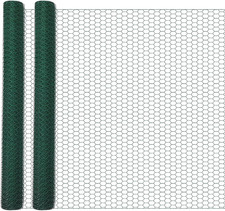
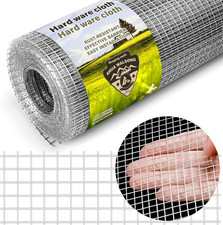
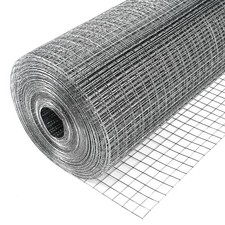
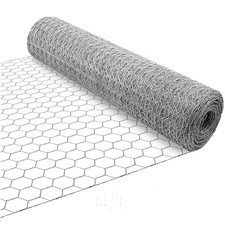
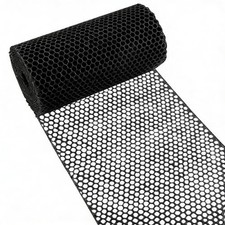
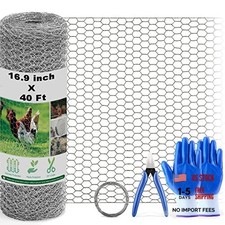
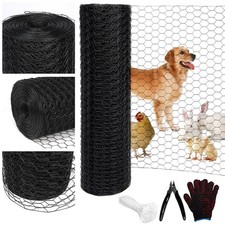
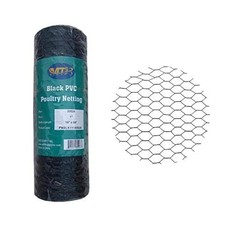
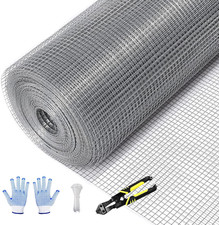
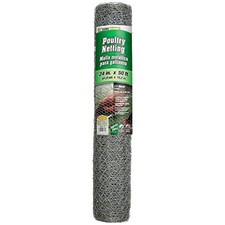
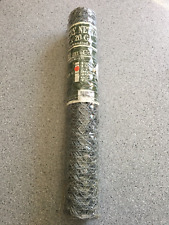
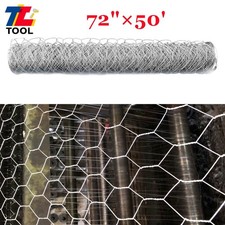
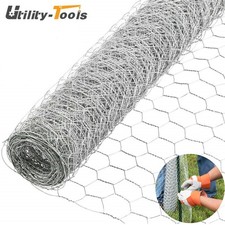
Welcome to the Chicken Wire page. Below we'll share some top applications for this versatile product that might interest you.
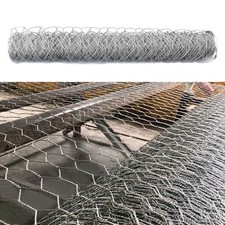
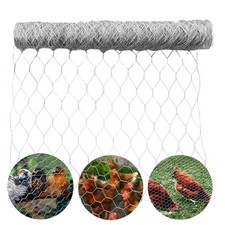
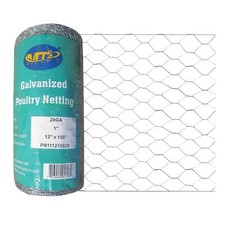
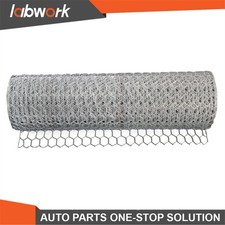
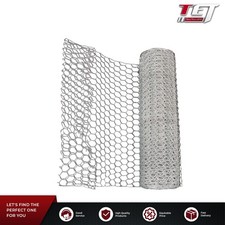
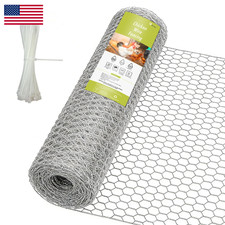
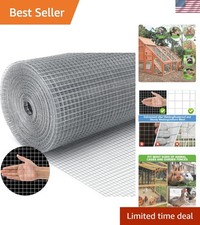
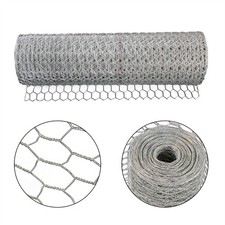
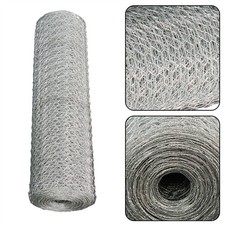
Chicken wire, also known as poultry netting, is a versatile material with various practical uses. Here are some common and creative applications for chicken wire:
Building a garden fence with chicken wire involves several steps. To begin, determine the layout and dimensions of your fence, considering the specific needs of your garden. Once you've marked the starting and ending points, dig post holes at each corner and at intervals along the fence line.
Insert wooden posts into the dug holes, ensuring they stand vertically straight. If additional support is desired, attach horizontal rails to the posts. These rails can be secured with nails or screws. Once the posts and optional rails are in place, unroll the chicken wire along the length of the fence.
Start securing the chicken wire to the first post, ensuring it's pulled tight. Move along the fence line, attaching the wire to each post using staples or zip ties. Be thorough in your attachment, maintaining tension in the chicken wire. If the fence is longer than the roll of chicken wire, overlap the rolls by a few inches and secure them together.
Trim any excess wire at the top and bottom using pliers or wire cutters. Secure the chicken wire at the top and bottom to prevent sagging and deter animals from burrowing underneath. Walk along the fence to inspect for any loose areas, securing them with additional staples or zip ties as needed.
As a finishing touch, consider painting or staining the wooden posts to match your garden's aesthetic. You can also enhance the appearance by adding decorative elements or allowing climbing plants to grow on the fence.
This process creates a functional and cost-effective garden fence using chicken wire, providing protection for your plants while allowing sunlight and air to reach them. Adjust the fence height and dimensions based on the specific requirements of your garden.
Building a compost bin with chicken wire involves a straightforward process.
Firstly, decide on the size and shape of your compost bin. This will depend on the amount of compost you plan to generate and the available space.
Next, gather the necessary materials, including wooden stakes or posts and a roll of chicken wire.
Begin by placing the wooden stakes or posts into the ground in a square or circular arrangement, leaving enough space between them to create the walls of the compost bin.
Unroll the chicken wire around the perimeter of the stakes, ensuring it is tightly secured. You may need to cut the chicken wire using wire cutters to fit the desired height of the compost bin.
Once the chicken wire is attached to all the stakes, make sure to leave an opening for easy access to the compost. This can be a section you secure with clips or ties, allowing you to add or remove compost as needed.
The chicken wire allows for proper aeration of the compost, promoting decomposition. As the organic material breaks down, turning the compost regularly with a pitchfork or shovel will accelerate the process.
Remember to water the compost periodically to maintain the right level of moisture. Additionally, covering the bin with a tarp or other material can help regulate temperature and moisture.
Building a compost bin with chicken wire is an efficient and cost-effective way to create nutrient-rich compost for your garden. With proper care and attention, you'll soon have a sustainable solution for recycling organic waste.
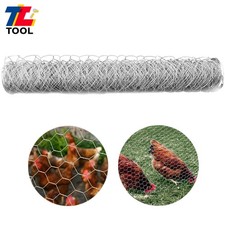
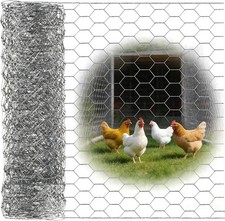
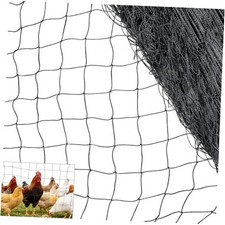
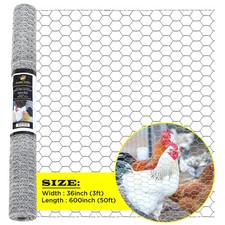
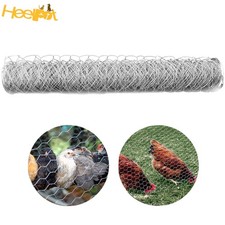
Building a chicken coop with chicken wire involves several key steps.
Start by planning the size and layout of your chicken coop. Consider the number of chickens you intend to keep and the space needed for nesting, roosting, and feeding.
Prepare the area by clearing any debris or obstacles. Level the ground and create a foundation using wooden beams or concrete blocks to provide stability.
Construct the frame of the chicken coop using wooden planks or beams. Ensure the frame is sturdy and securely anchored to the foundation.
Attach sheets of chicken wire to the frame to create the walls. Chicken wire is an excellent material for ventilation and protection against predators.
Install a secure door for easy access to the chicken coop. Make sure the door is predator-proof, and consider adding locks or latches for extra security.
Add a roof to the coop using weather-resistant materials such as plywood or metal. This provides protection from the elements and ensures the chickens stay dry and comfortable.
Include nesting boxes and roosting perches inside the coop. Place straw or hay in the nesting boxes to create a comfortable environment for laying eggs.
Provide a feeding and watering station within the coop. Ensure these are easily accessible for both you and the chickens.
Finally, add any additional features such as windows for natural light or insulation for colder climates.
Regularly inspect the chicken coop for wear and tear, and make any necessary repairs. This ensures a safe and secure environment for your chickens.
Building a chicken coop with chicken wire is a practical and affordable way to create a comfortable home for your feathered friends.
Begin by selecting a suitable location for your trellis. Consider the type of climbing plants you want to support and ensure they receive adequate sunlight.
Measure and mark the desired height and width of your trellis on the chosen support structure, such as a wooden frame or fence.
Securely attach wooden stakes or posts to the ground at the corners of the marked area. These will serve as the vertical supports for your trellis.
Attach horizontal wooden beams or slats between the vertical supports to create the framework of the trellis. Ensure they are securely fastened to form a stable structure.
Unroll and attach chicken wire to the frame, using staples or nails to secure it in place. Pull the chicken wire taut to provide proper support for climbing plants.
Consider painting or staining the wooden frame to enhance the trellis's aesthetic appeal and protect it from the elements.
Once the chicken wire is securely attached, train your climbing plants to grow along the trellis. This may involve tying the plants to the chicken wire or guiding them as they grow.
Regularly inspect the trellis for any signs of wear or damage, especially if your climbing plants become heavy or dense.
A decorative trellis with chicken wire not only supports your plants but also adds a visually appealing element to your garden or outdoor space.
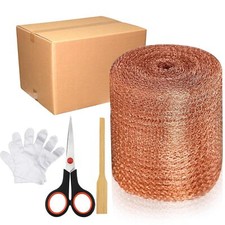
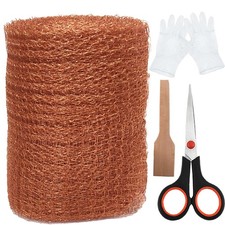
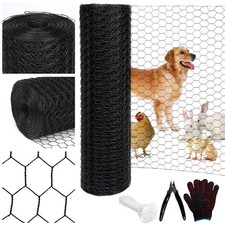
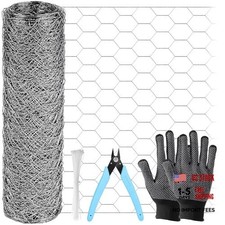
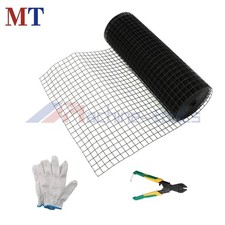
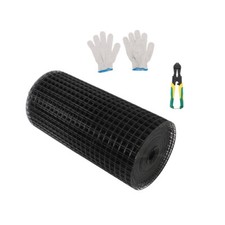
Gather the necessary materials, including chicken wire, wire cutters, and gloves to protect your hands from sharp edges.
Roll out the chicken wire and begin shaping it into the basic form of your sculpture. Use the wire cutters to trim excess wire and refine the shape as you work.
Bend and twist the chicken wire to add details and dimension to your sculpture. Consider the texture and contours you want to achieve, and manipulate the wire accordingly.
As you progress, periodically step back and assess the overall shape and proportions of your sculpture. Make adjustments as needed to achieve the desired aesthetic.
If creating a freestanding sculpture, ensure that the base provides stability and support. You may need to attach additional pieces of chicken wire to create a sturdy foundation.
Experiment with different techniques, such as layering or twisting the wire for added texture and complexity.
Once satisfied with the form, consider adding additional elements or embellishments using smaller pieces of chicken wire.
Optional: If you intend to display the sculpture outdoors, consider coating it with a protective sealant or rust-resistant paint to enhance durability.
Place your finished chicken wire sculpture in its intended location, whether indoors or outdoors, and enjoy the unique and artistic addition to your space.
Measure and cut the wooden boards to create a rectangular frame for your compost sifter. The dimensions will depend on the size of the sifter you want to build.
Attach the cut boards together to form the frame using nails. Ensure the corners are secure and the frame is stable.
Lay the frame on a flat surface, and roll out the chicken wire over the frame. Cut the chicken wire to fit the frame, leaving some excess around the edges to secure it to the frame.
Secure the chicken wire to the wooden frame using staples or nails. Make sure it is taut and firmly attached to create a durable sifting surface.
Trim any excess chicken wire around the edges to create a neat and functional compost sifter.
Your compost sifter is now ready for use. Simply place it over a wheelbarrow or another container, add your compost mixture, and shake or sift to separate fine compost from larger particles.
Regularly clean the chicken wire after use to prevent buildup and ensure efficient sifting during future composting activities.
Consider adding handles to the wooden frame for ease of use and portability.
Now, enjoy the benefits of finely sifted compost that you can use to enrich your garden soil!
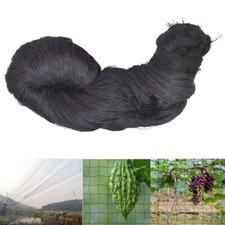
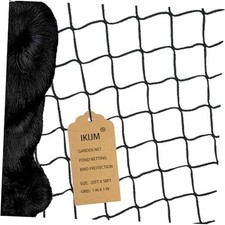
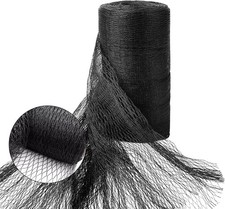
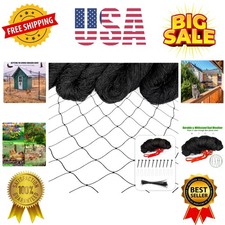
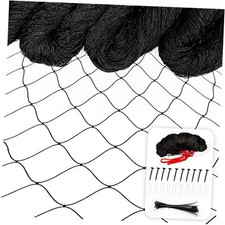
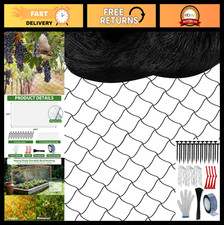
Start by measuring the area around the fruit tree that you want to protect. Take into account the height and diameter of the tree to ensure the netting will cover the entire canopy.
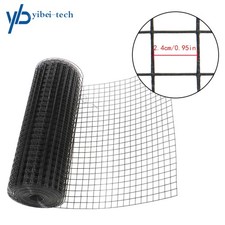
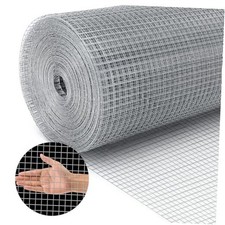
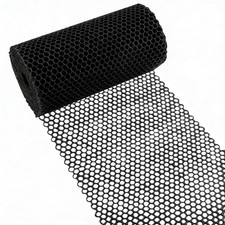
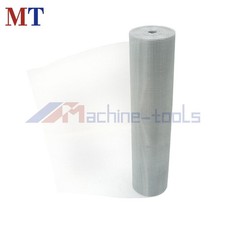
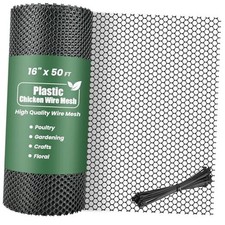
Get rolls of chicken wire and choose a mesh size that prevents birds and pests from accessing the fruits while allowing sunlight and rain to reach the tree.
Unroll the chicken wire and cut it to the desired length, making sure it provides sufficient coverage for the entire tree.
Form the chicken wire into a cylindrical shape around the fruit tree, ensuring that it reaches the ground. Overlap the edges to create a secure enclosure.
Use pliers or wire connectors to secure the ends of the chicken wire, ensuring a tight and sturdy connection. This prevents birds and pests from finding openings to access the fruits.
If the fruit tree has low-hanging branches, consider creating a secondary layer of protection by draping additional chicken wire over these areas.
Secure the netting to the ground by anchoring it with stakes or heavy objects. This prevents pests from crawling underneath and reaching the fruits.
Inspect the netting regularly to ensure it remains intact and properly secured. Repair any damages promptly to maintain effective protection.
During the harvest season, lift or open sections of the netting to access and gather your fruit while keeping the rest of the tree protected.
Building protective netting for fruit trees with chicken wire provides a reliable defense against unwanted visitors, allowing you to enjoy a bountiful harvest.
Chicken wire can be used in various craft projects, including making wreaths, lampshades, or other decorative items.
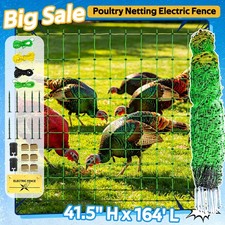
Establish temporary fencing for events, construction sites, or other situations where a quick and cost-effective barrier is needed.
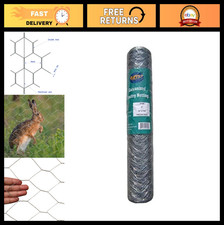
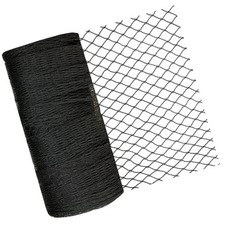
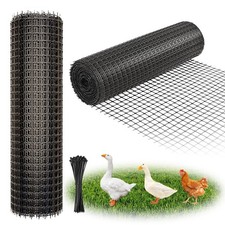
Building rabbit fencing with chicken wire is a practical solution to protect your garden from these small, nibbling creatures. Here's a guide on how to create effective rabbit fencing:
Begin by measuring the perimeter of your garden to determine the amount of chicken wire needed. Consider the height, and if necessary, bury a portion of the wire to prevent rabbits from digging underneath.
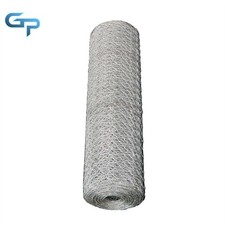
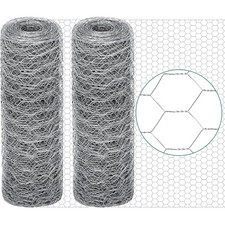
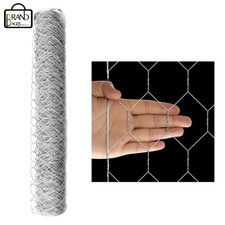
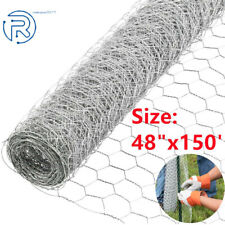
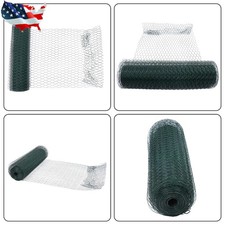
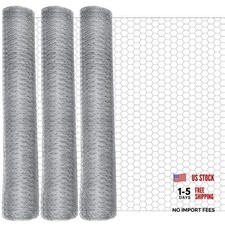
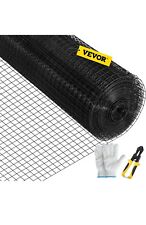
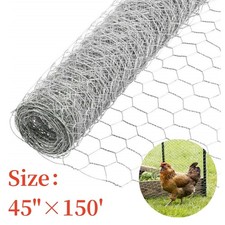
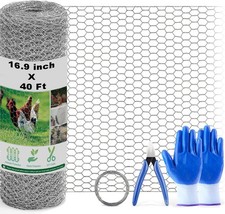
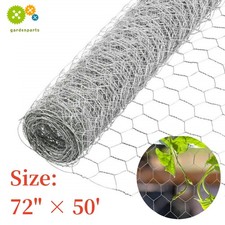
Choose a durable chicken wire with a mesh size that prevents rabbits from squeezing through. Rolls of chicken wire are readily available at hardware or garden supply stores.
Unroll the chicken wire along the planned fence line. If your garden has existing fencing, attach the chicken wire to it for additional height and protection.
Secure the chicken wire to wooden or metal posts, spaced at regular intervals along the fence line. Use zip ties or wire to fasten the wire to the posts securely.
Stretch the chicken wire taut between the posts to eliminate any sagging. This ensures that rabbits cannot easily climb or push their way through.
Consider adding an overhang at the top of the fence by folding a portion of the chicken wire outward. This prevents rabbits from jumping over the fence.
If the bottom of the fence is not buried, bend a portion of the chicken wire outward at ground level. This discourages rabbits from digging underneath the fence.
Inspect the rabbit fencing regularly for any signs of damage or areas where rabbits may attempt to breach. Repair any issues promptly to maintain effective protection.
Building rabbit fencing with chicken wire is an affordable and efficient way to safeguard your garden from these persistent little foragers.
Creating gabion walls with chicken wire involves a straightforward process to build sturdy and visually appealing structures. Here's a guide on how to construct gabion walls:
Start by determining the dimensions and layout of your gabion wall. Mark the areas where the walls will be installed, considering the desired height and length of each section.
Prepare the ground by leveling it and ensuring a stable foundation for the gabion structure. Remove any debris or obstacles from the intended wall locations.
Assemble the gabion baskets using sturdy wire mesh, commonly made of chicken wire or welded wire. Connect the sides of the baskets securely, creating a box-like structure. Use wire ties or clips for a strong and durable connection.
Place the assembled gabion baskets in their designated positions. If you are stacking multiple layers, ensure they align correctly for stability.
Fill the gabion baskets with suitable materials such as stones or rocks. Use a variety of sizes to create an aesthetically pleasing pattern. Ensure the baskets are evenly filled to maintain stability.
Securely close the tops of the gabion baskets once they are filled. Use the wire mesh material to cover the stones completely, preventing any movement or shifting.
Connect the individual gabion baskets to create a continuous wall. Use wire or clips to secure the adjacent baskets together, ensuring a cohesive and integrated structure.
Inspect the completed gabion wall for any gaps or loose sections. Make necessary adjustments to enhance the structural integrity of the wall.
Gabion walls created with chicken wire provide an attractive and durable solution for landscaping, retaining walls, or decorative barriers.
Create spooky Halloween decorations like ghosts or haunted figures by molding chicken wire into shapes and covering them with fabric or other materials.
Train climbing plants or vines on walls or fences by providing a chicken wire support structure.
Chicken wire can be used in landscaping to control erosion on slopes by holding soil in place until vegetation establishes.
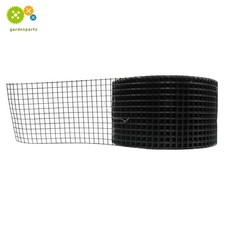
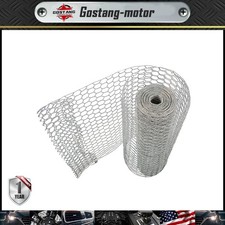
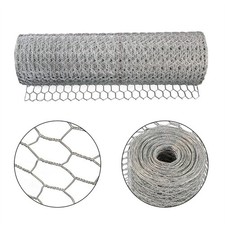
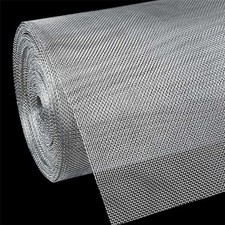
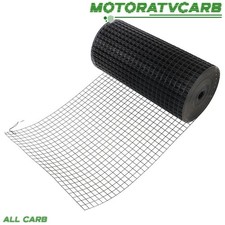
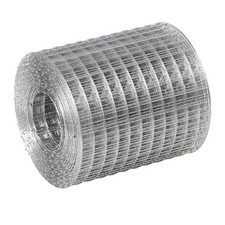
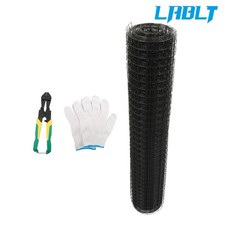
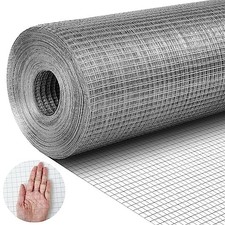
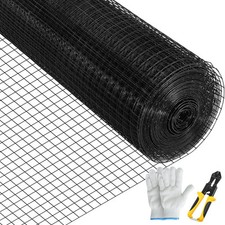
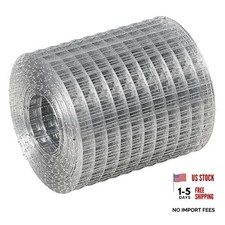
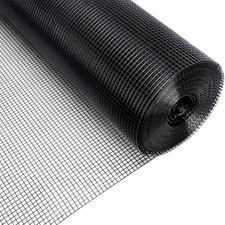
Remember to consider the gauge and size of the chicken wire based on the specific application to ensure its effectiveness.
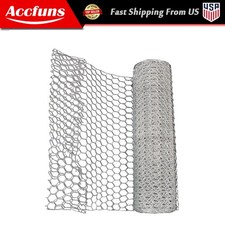
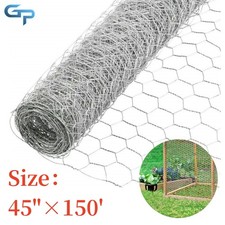
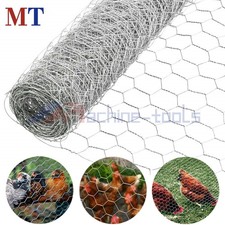
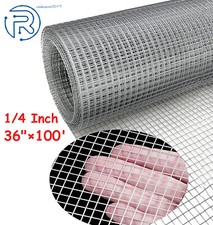
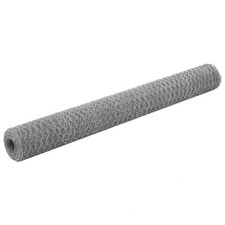
At our website, we believe in the power of cost per unit analysis, enabling you to make economical choices without compromising on quality. Discover different sizes, gauges, and materials of chicken wire, and find the best price per unit for your specific needs.
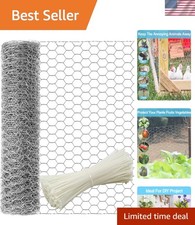
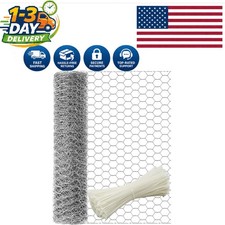
Whether you're building a chicken coop, protecting your garden from pests, or creating DIY projects, chicken wire is an essential tool. Browse our comprehensive listings and select the perfect chicken wire option for your project while keeping your budget in mind.
.